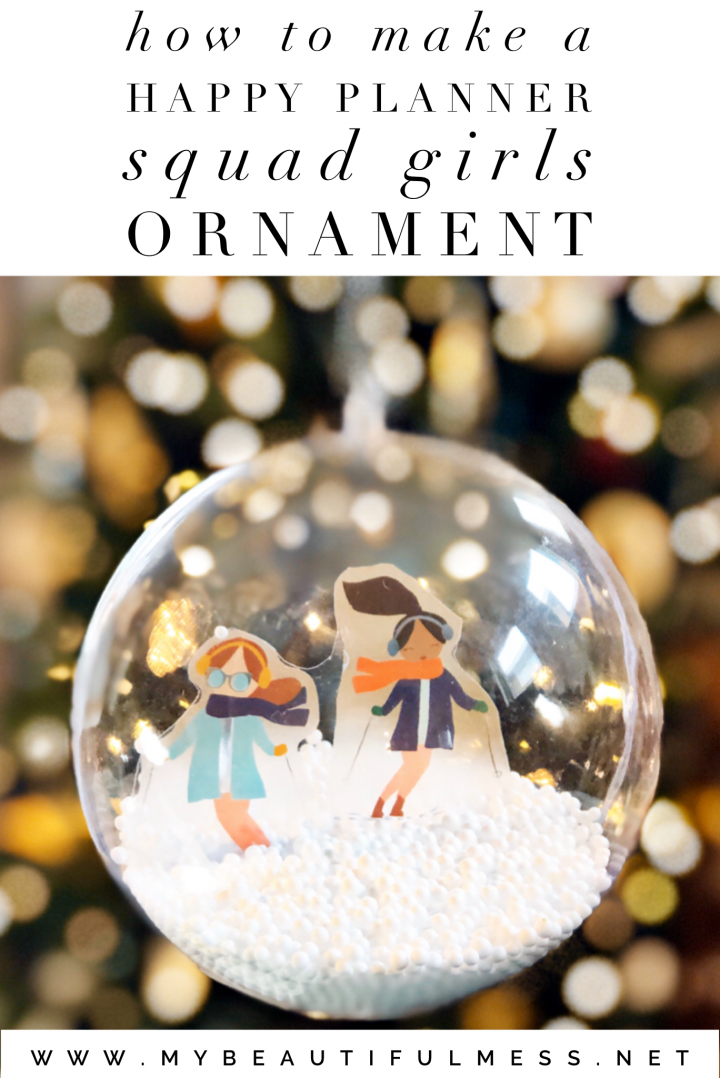
How to Make a Happy Planner Squad Girls Ornament

Learn how to make a happy planner squad girls ornament with just a few materials in less than 15 minutes.

how to make a happy planner squad girls ornament
Some links are affiliate links. Should you make a purchase through one of the links I provide, I may receive a small percentage at no cost to you. I only link to things I love or own myself.

Hey planner babes! Welcome to my new tutorial on how to make a Happy Planner Squad Girls ornament. This year, I spent time making lots of different Happy Planner ornaments and this is just one of the cute ideas that I came up with. Be sure to check out my YouTube channel for lots of fun Happy Planner themed Christmas tutorials.

This cute ornament is filled with fake snow and looks like the squad girls are skiing in your ornament. This craft is very easy to make and you can do all kinds of fun scenes. This craft took me less than 15 minutes to make from start to finish. I’ve made a video for you to follow along with and I’ve also provided written instructions below. I really encourage you to watch the video since the instructions were hard to describe in writing. While you are there, please subscribe to my channel and don’t forget to follow my Instagram for daily inspiration.

Materials

Time needed: 15 minutes

Squad Girls Happy Planner Ornament

  1. Open up your snow globe

  2. Cut your acetate

    Cut down your acetate to a manageable sheet about 6 x 8″ and score in the middle

  3. Place stickers

    Pick out the stickers you want to use. Lay your scored acetate down so that half is flat on the table and the other half stands up towards you. Place your stickers about and inch to two inches on the acetate. You may need to reposition the stickers depending on where you want them to be.

  4. Trim down your acetate

    Trim down your acetate by cutting off any excess acetate around your sticker. Then trip your base in a half moon shape. You only need an inch or two. While you’re trimming, trim a little at a time, making sure it fits well in your globe.

  5. Apply Foam Tape

    Apply double sided foam tape to the bottom of your base. Adhere to the bottom of the globe.

  6. Add snow

    Carefully, add your fake snow. Close globe and shake gently until snow is evenly distributed.

  7. Secure

    For added security, super glue your ornament for added protection once you are certain no other adjustments are necessary

Other Happy Planner Posts

Follow me on Instagram

You can find me on Instagram for more ideas planner ideas, layouts, and tips.

Thanks for reading. Don’t forget to PIN this post for later or share it with another planner girl!

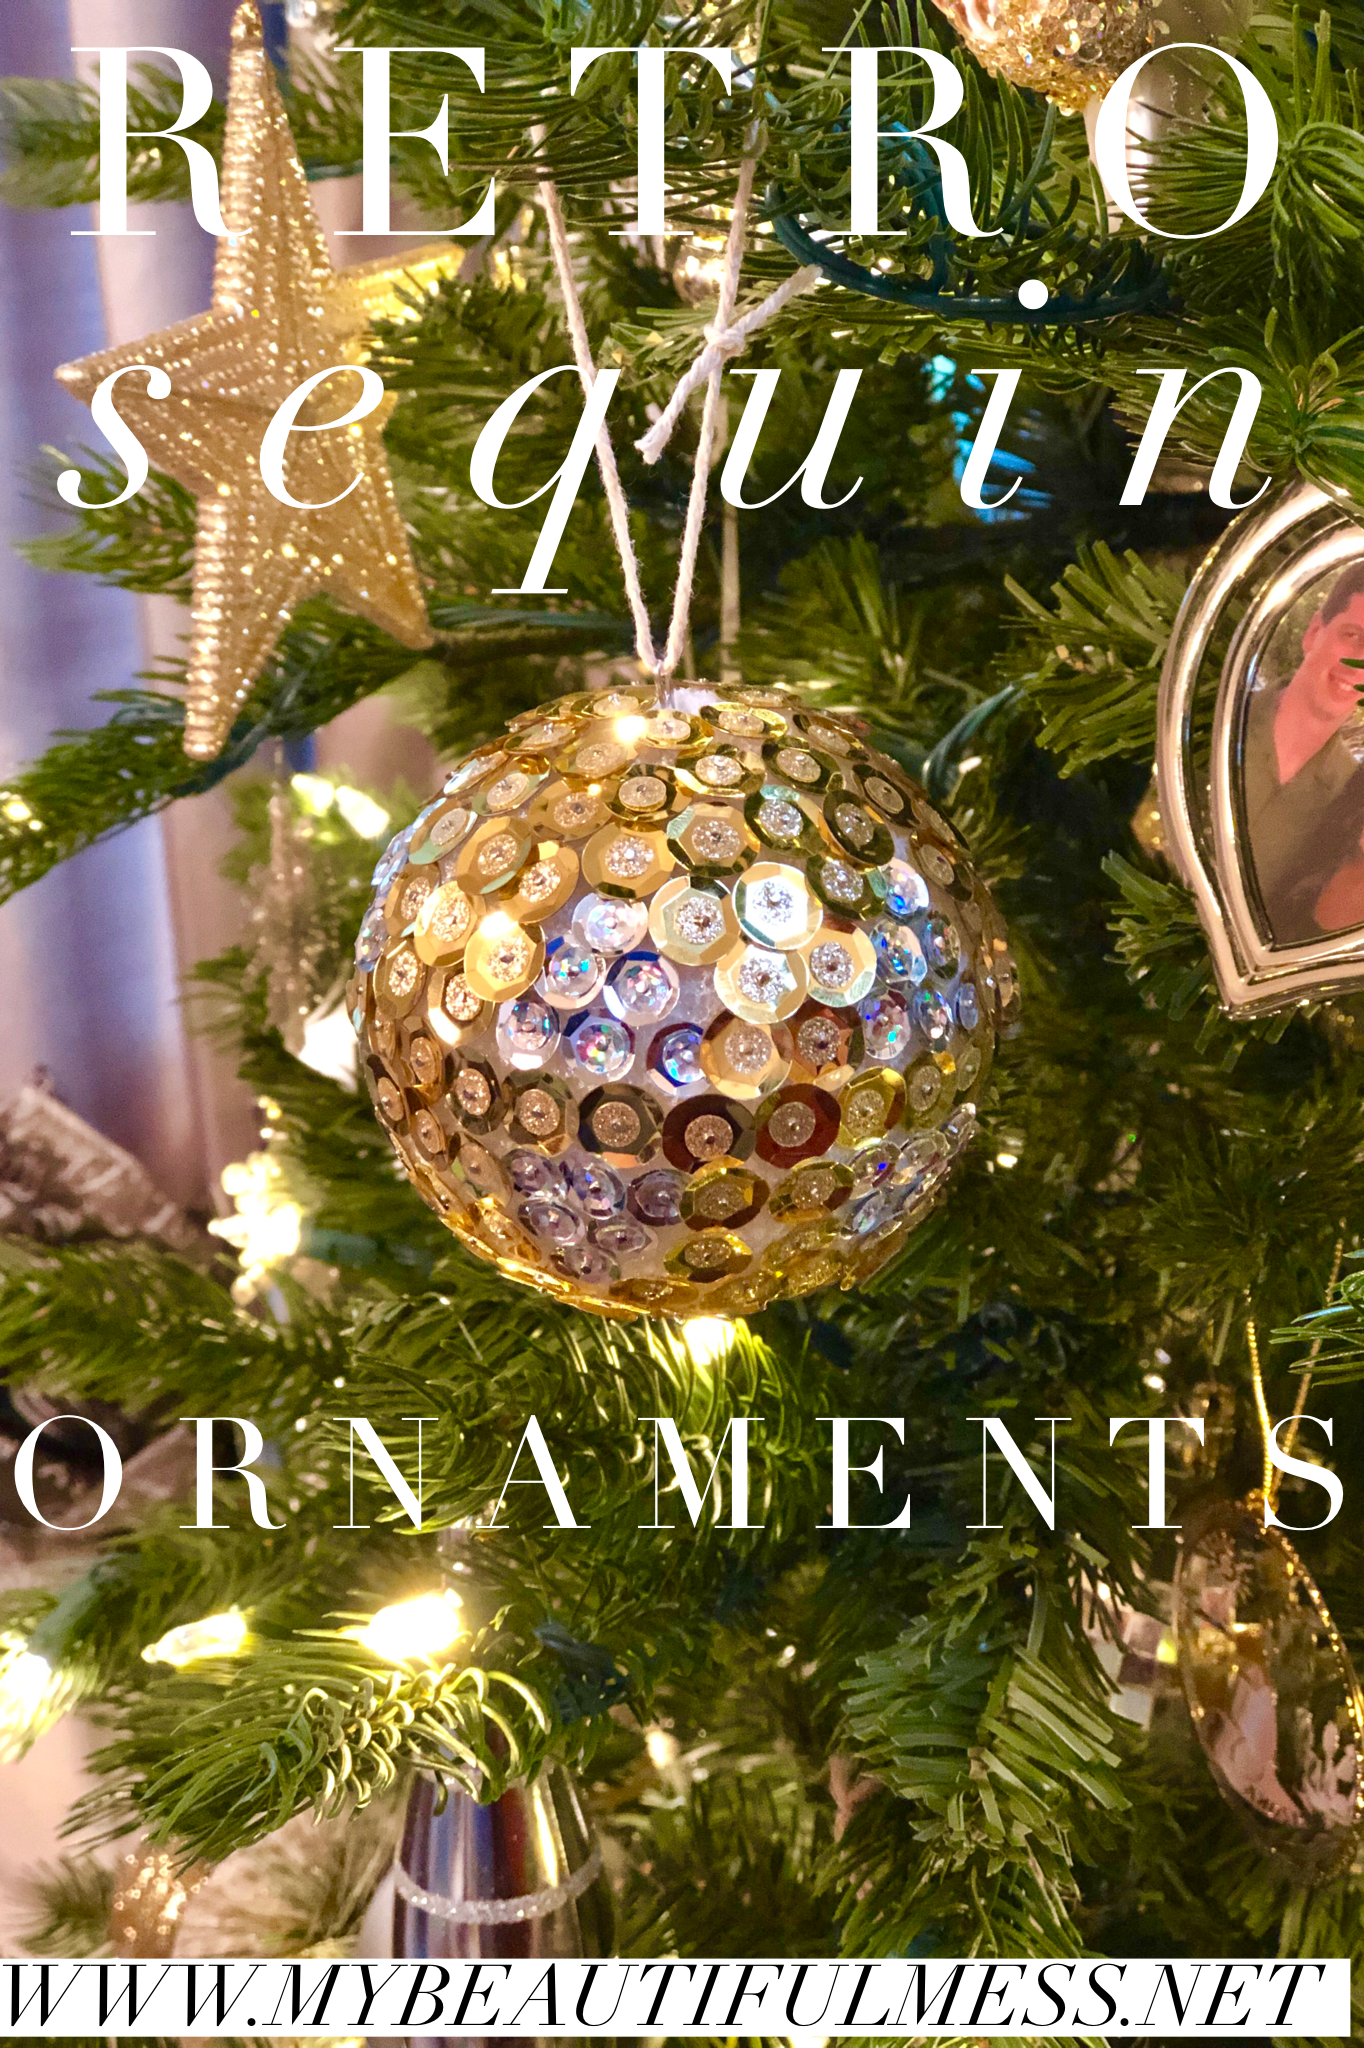
Retro Sequin Ball Ornaments

Learn how to make beautiful retro sequin ball ornaments in this DIY tutorial

diy retro sequin ornament christmas craft handmade ornament

Every year, our family makes ornaments as part of our Advent calendar. Our Advent calendar is filled with holiday centered activities that we do as a family. It’s a fun way to take time out of the busy holiday season and actually celebrate and experience Christmas. My family has grown to love it and each year we each choose our own ornament we’d like to make. This year, I choose retro sequin ball ornaments.

Making this ornament is fairly easy, just time-consuming. Surprisingly, I found it to be a relaxing exercise! I hadn’t made one of these in years, so I was a little rusty. So I’ll share how I made these and what I learned from the mistakes I made!

SUPPLIES

  • Wire, approx 3-4″
  • Styrofoam ball 2.8″
  • Small pliers
  • Wire cutters
  • Sequins
  • Craft pins
  • Ribbon / String / or Ornament Hook

handmade ornament supplies diy sequin ornament

INSTRUCTIONS

  1. Before you begin, take a wire (in a pinch you can use a large paper clip). Insert the wire in the top of the ball ornament. Push straight through the center. You can do this at any point. However, I’d recommend doing it before you put sequins on. If for some reason you don’t go strait on your first attempt, you may destroy the hard work you’ve done. Therefore, I recommend doing it before you begin decorating. This will create a way to attach an ornament hook or string for hanging.

2. Once through, trim wire on the top and bottom to about a centimeter.

3. Using pliers, curl each wire end into a loop. This stops the wire from sliding on either end and will allow you to hang it.

4. When it comes to sequins, you can choose any that you like. I choose silver and gold since one of my trees is themed that color. You can choose different size sequins as well. I recommend putting them in ziplockĀ bags or containers to control the mess or if you may need to clean off you workspace before you’re finished.

5. You’ll need craft pins. Some come with a decorative head and others have a flat head. I used short pins, but I recommend using larger ones. I found that using short pins are easily pulled out. The longer the pin, the more reinforced it is.

6. You decide on the design and how many colors you use. I did opposing triangle shapes surrounded by gold. If you need to, you can draw an outline on the styrofoam it will eventually be obscured by the sequins.

7. If you’ve never used sequins before, you want the sequins to be placed with the facets facing upwards. This allows for maximum shine. You can choose to layer the sequins as I did. I put the smaller ones on top of the big ones for added interest and texture.

8. Next, add your sequins, making your way around the ball trying to close any gaps you see, to the best of your ability.

9. Once done, add your ribbon or ornament hook. It’s now ready for hanging!

If you’re looking for more fun things to do at Christmas time, see the postĀ The Ultimate Christmas Bucket List

Retro Sequin Ornaments first appeared on My Beautiful Mess