Skip to content
Sign up for a free recipe e-book →
My Beautiful Mess
Search
About Me
Contact Me
Disclosure
Media Kit
Shop
Marriage
Motherhood
Parenting
Pregnancy
Clubfoot
Organization
Cleaning
Wellness
Prayer & Spirituality
Crafts / DIY
Holidays
Fall / Autumn
Recipes
Appetizers
Salad
Main Dishes
Side Dishes
Weekday Dinners
Desserts
Soups & Stews
Slowcooker Favorites
Homeschooling
Category:
Desserts
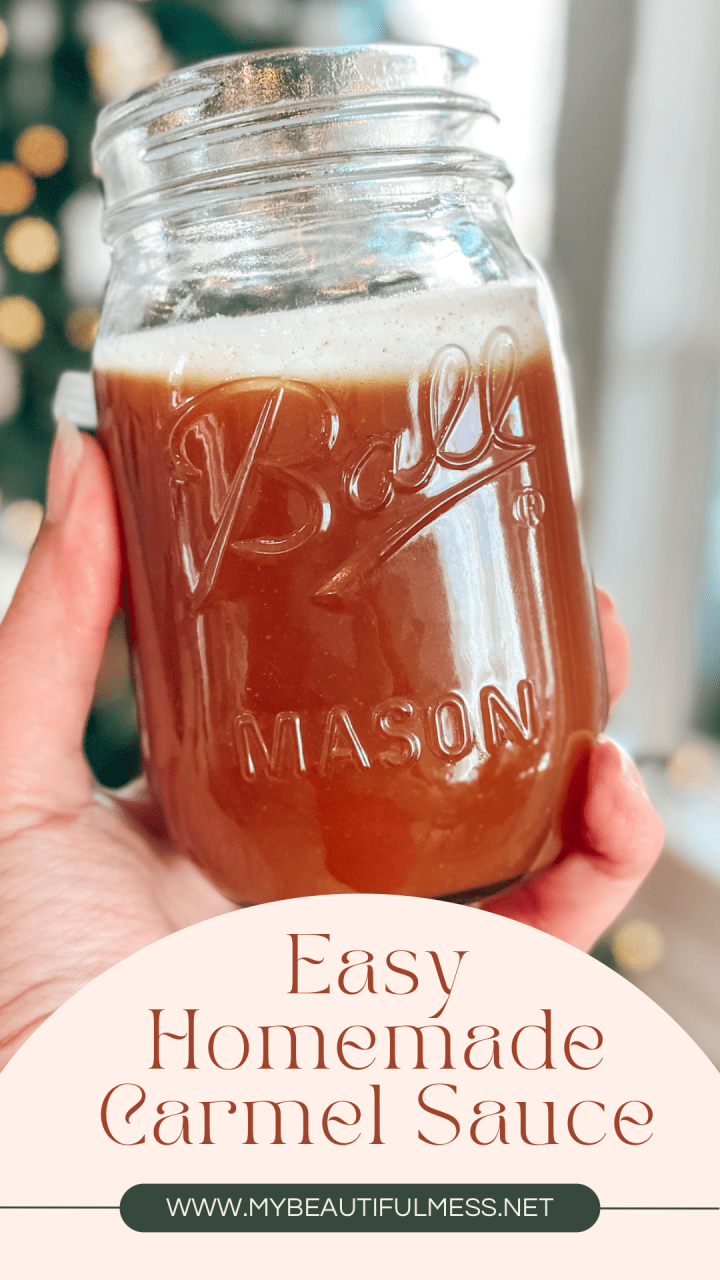
Easy Homemade Caramel Sauce
Easy Sweet Potato Casserole
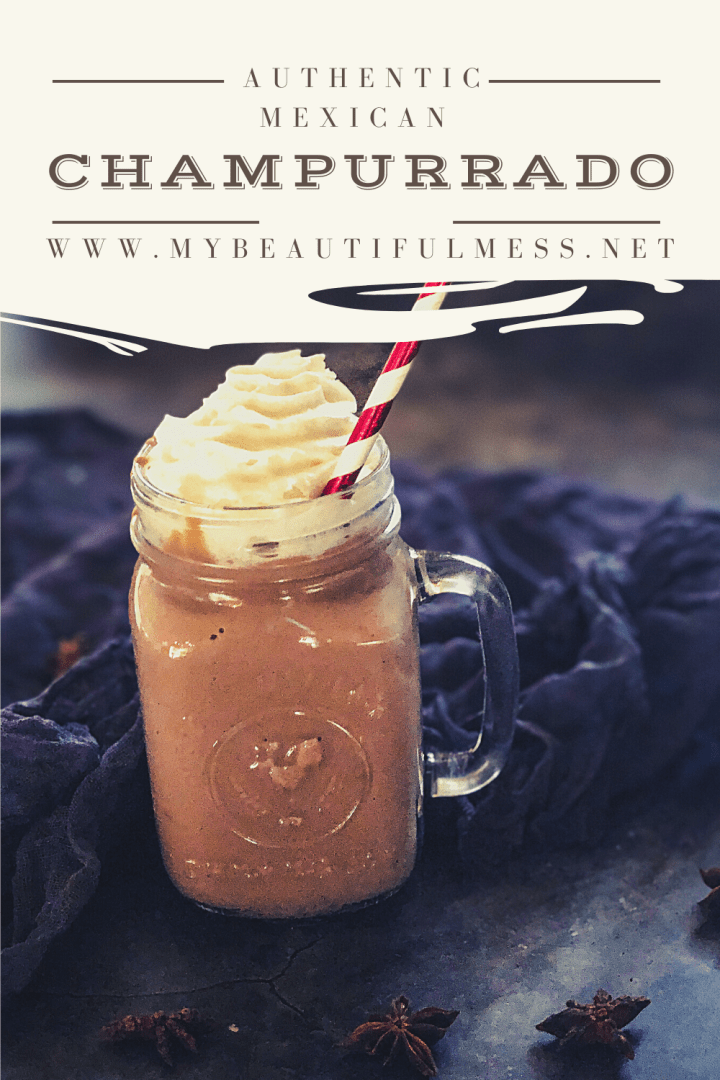
Authentic Mexican Champurrado
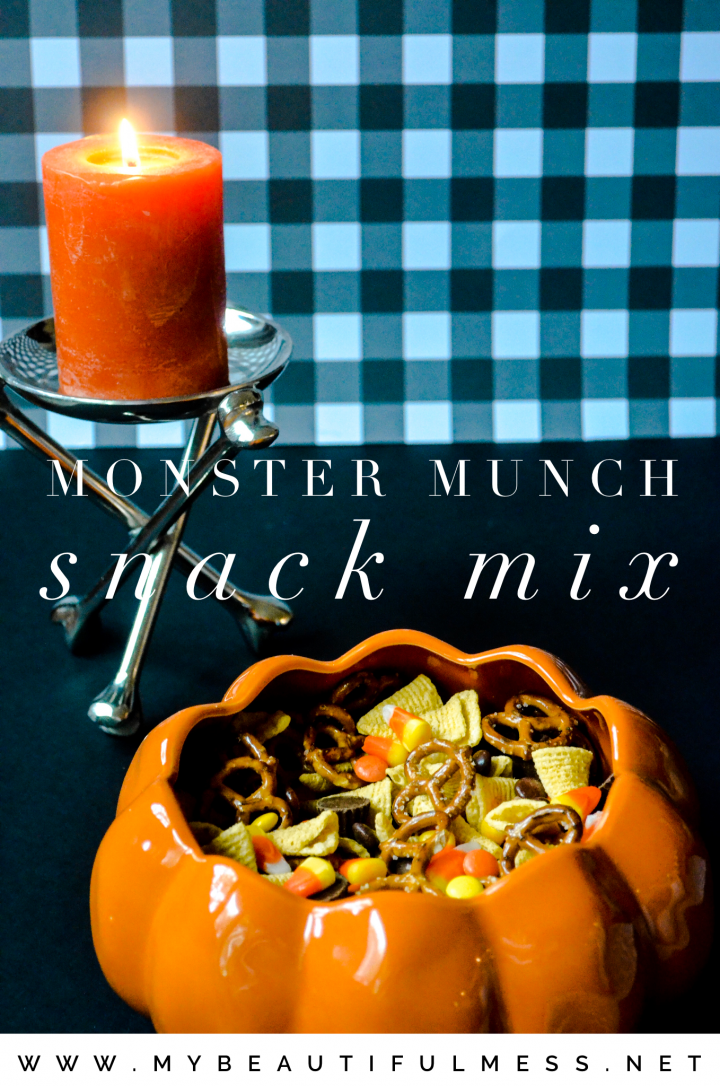
Monster Munch Snack Mix
Cake Mix Cherry Cobbler
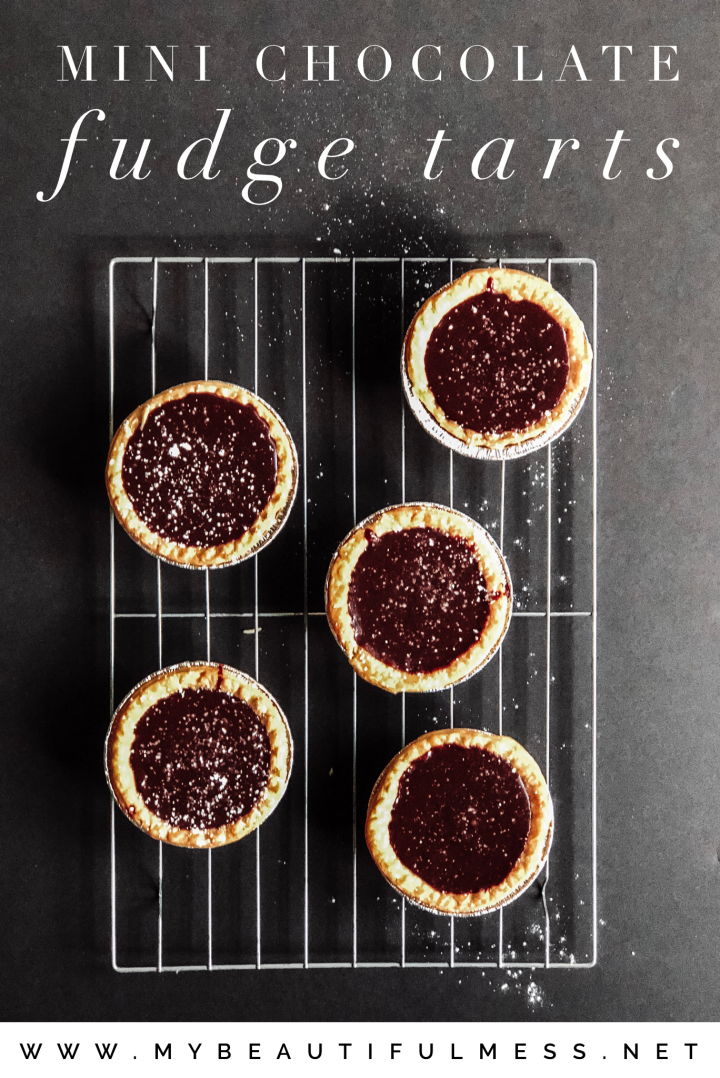
Mini Chocolate Fudge Tarts
Rich Fudgy Scratch Brownies
Banana Vanilla Wafer Pudding
The Best Crockpot Hot Chocolate
Loading Comments...
Write a Comment...
Email (Required)
Name (Required)
Website