Skip to content
Sign up for a free recipe e-book →
My Beautiful Mess
Search
About Me
Contact Me
Disclosure
Media Kit
Shop
Marriage
Motherhood
Parenting
Pregnancy
Clubfoot
Organization
Cleaning
Wellness
Prayer & Spirituality
Crafts / DIY
Holidays
Fall / Autumn
Recipes
Appetizers
Salad
Main Dishes
Side Dishes
Weekday Dinners
Desserts
Soups & Stews
Slowcooker Favorites
Homeschooling
Tag:
weeknight dinner
Easy Chicken Tetrazzini
Pioneer Woman’s Baked Ziti
Slow cooker Pork Carnitas
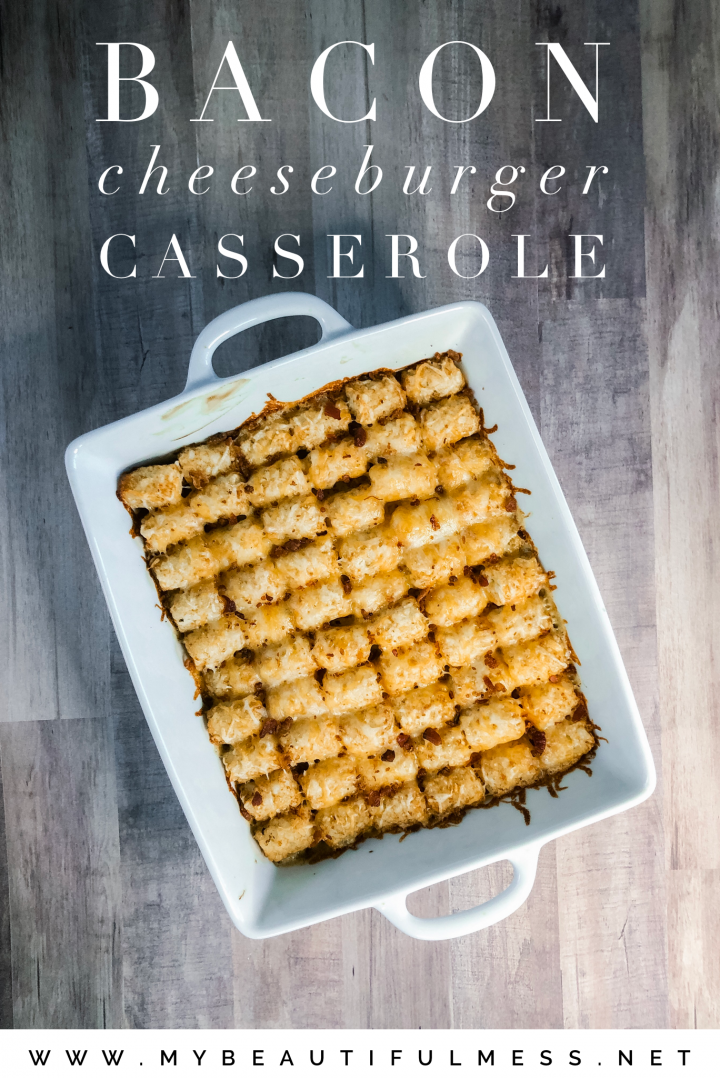
Bacon Cheeseburger Casserole
Creamy Green Chili Chicken Enchiladas
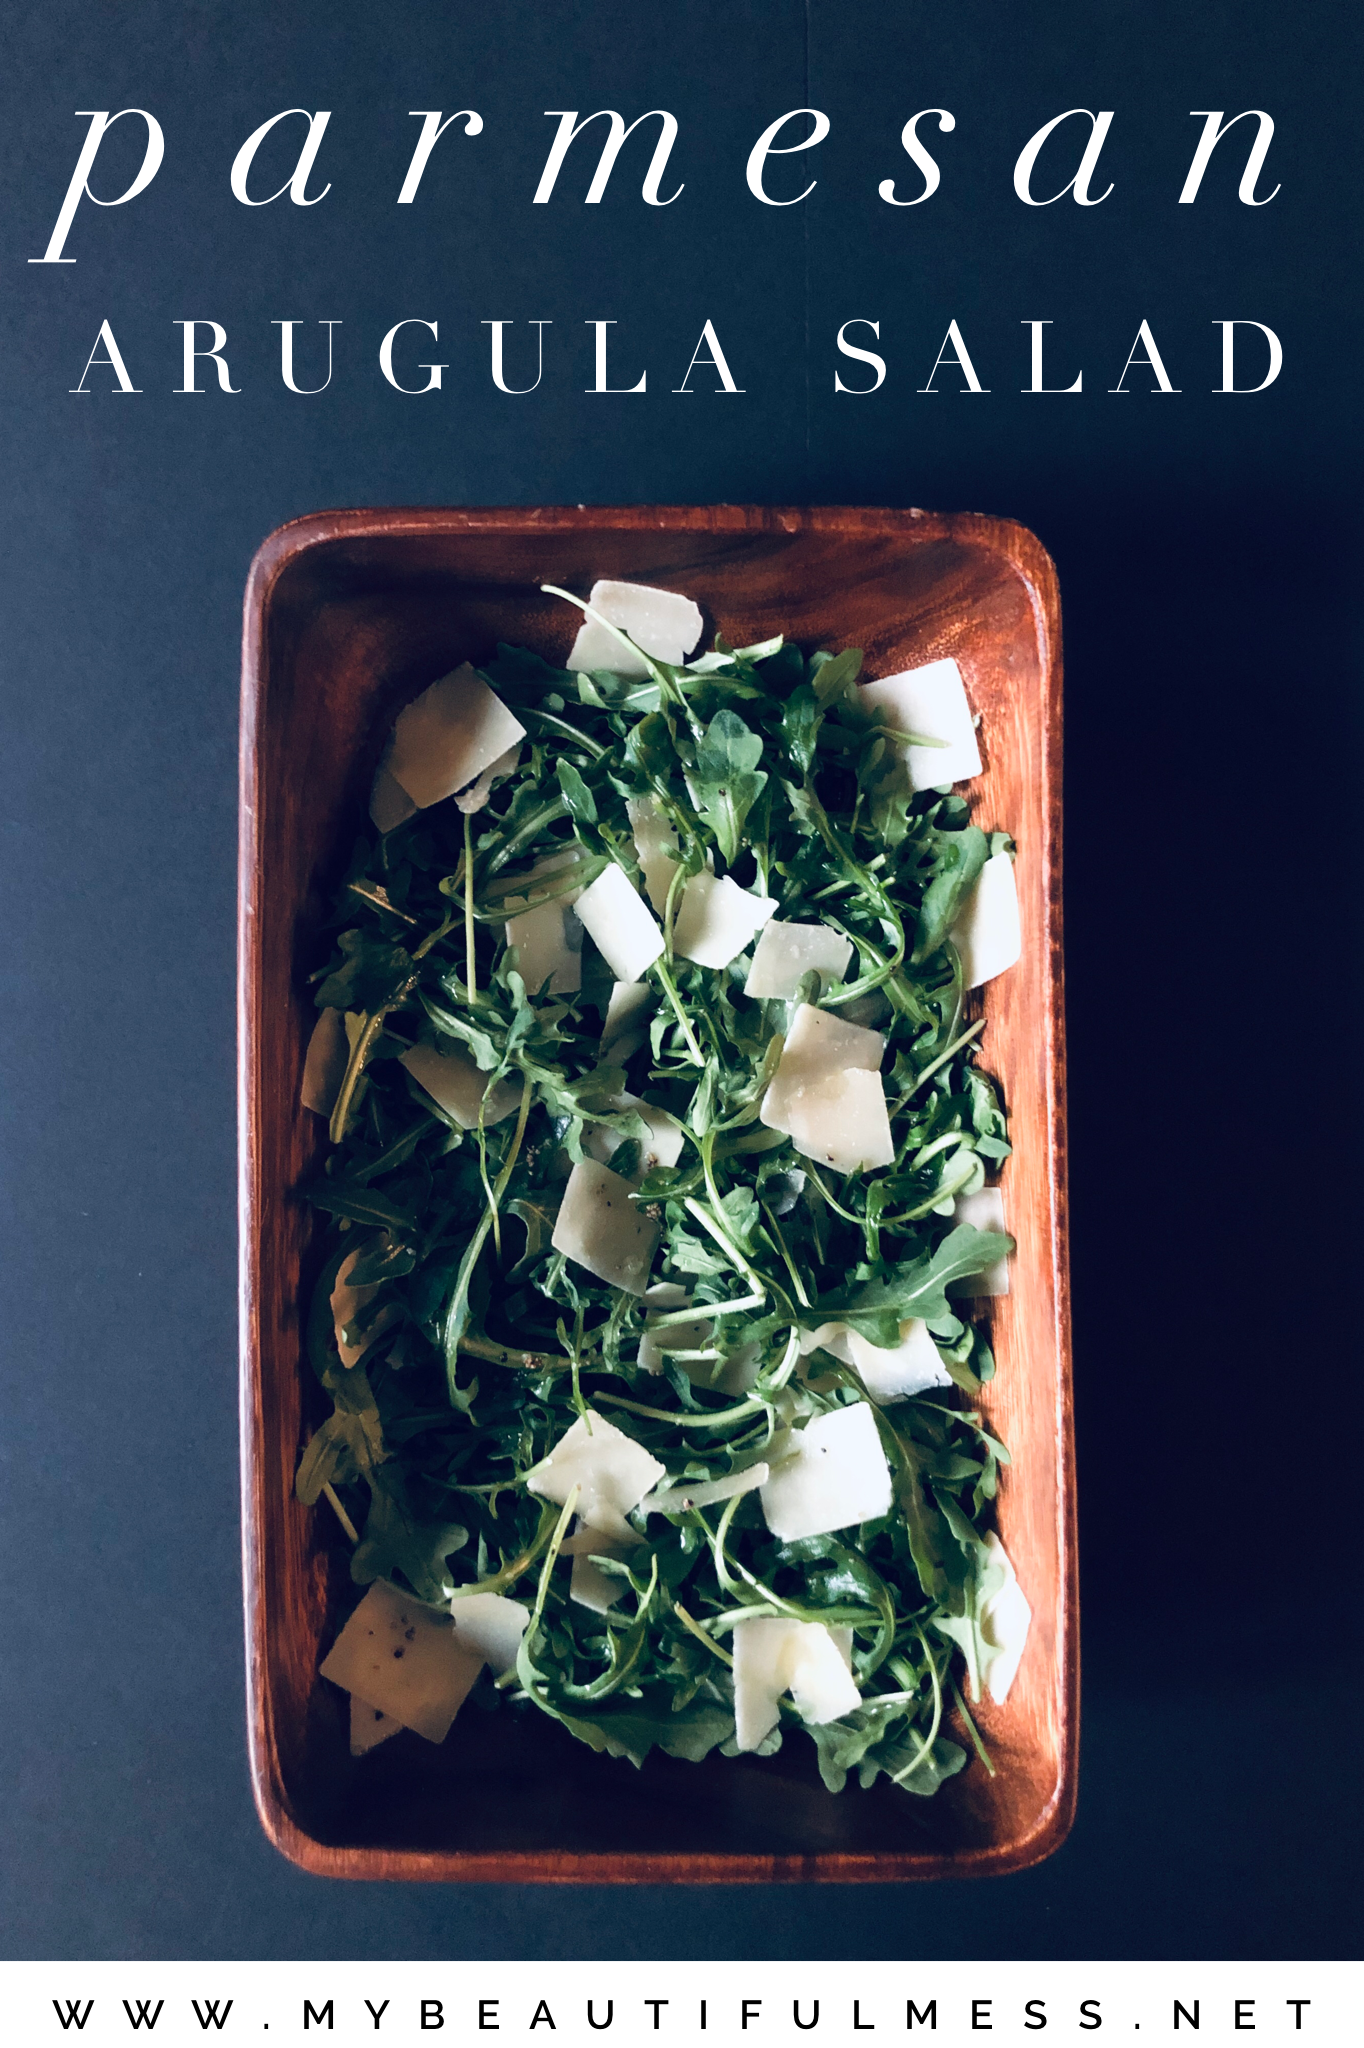
Parmesan Arugula Salad
Roasted Root Medley
Perfect Spanish Rice
Zuppa Toscana
Loading Comments...
Write a Comment...
Email (Required)
Name (Required)
Website