Skip to content
Sign up for a free recipe e-book →
My Beautiful Mess
Search
About Me
Contact Me
Disclosure
Media Kit
Shop
Marriage
Motherhood
Parenting
Pregnancy
Clubfoot
Organization
Cleaning
Wellness
Prayer & Spirituality
Crafts / DIY
Holidays
Fall / Autumn
Recipes
Appetizers
Salad
Main Dishes
Side Dishes
Weekday Dinners
Desserts
Soups & Stews
Slowcooker Favorites
Homeschooling
Tag:
Christmas
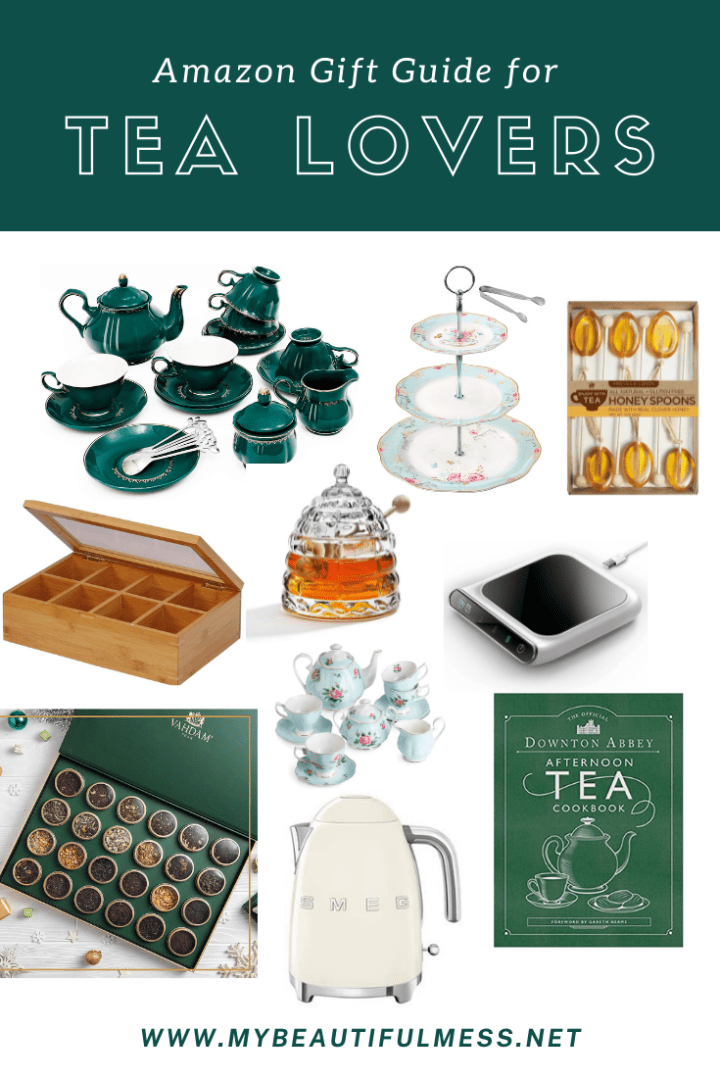
Amazon Gift Guide for Tea Lovers
Printable Christmas I Spy
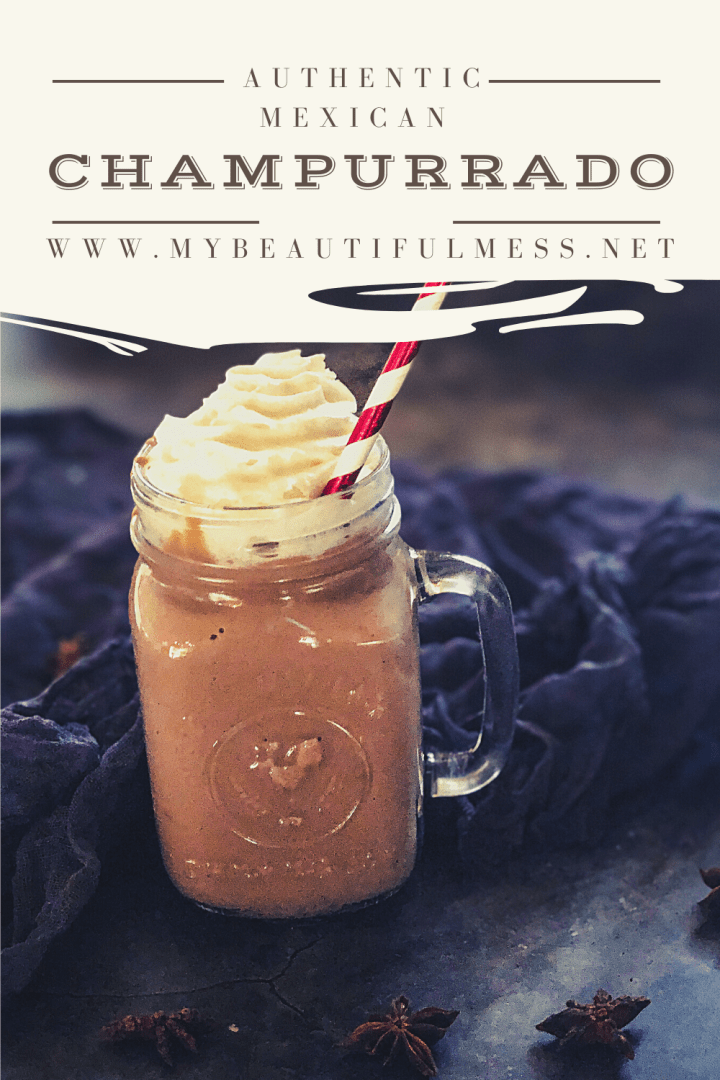
Authentic Mexican Champurrado
Christmas Movie Quote Gift Tags
25 Christmas Journal Prompts
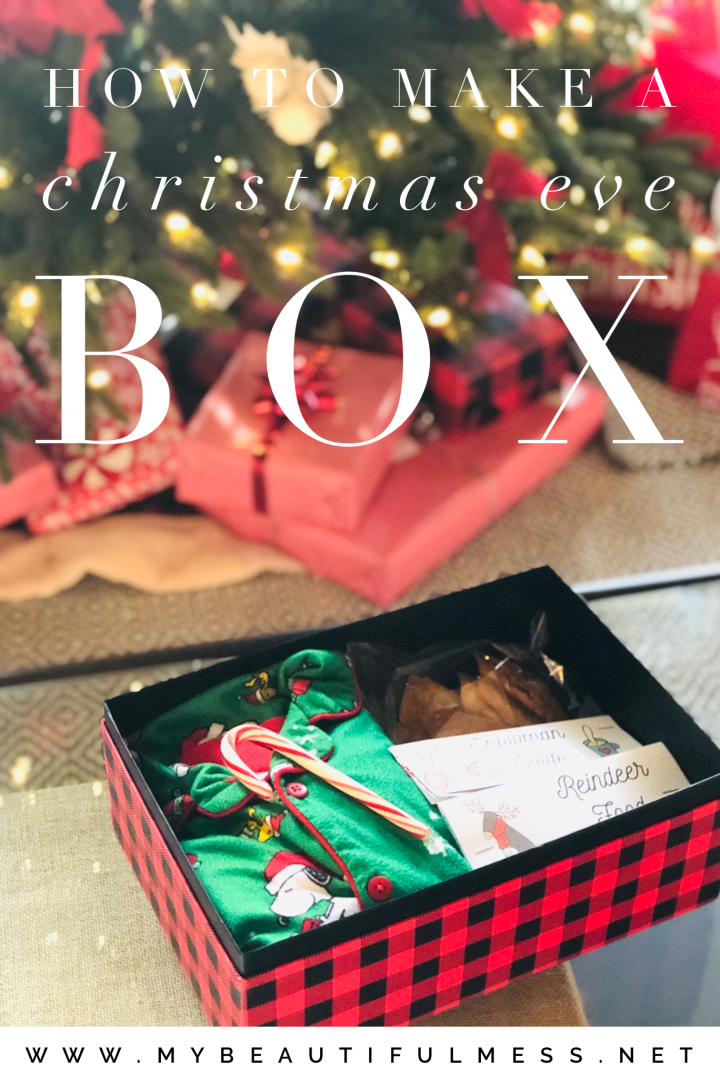
How to Make a Christmas Eve Box
Thank A Mail Carrier Basket
Stocking Stuffers for Babies & Toddlers
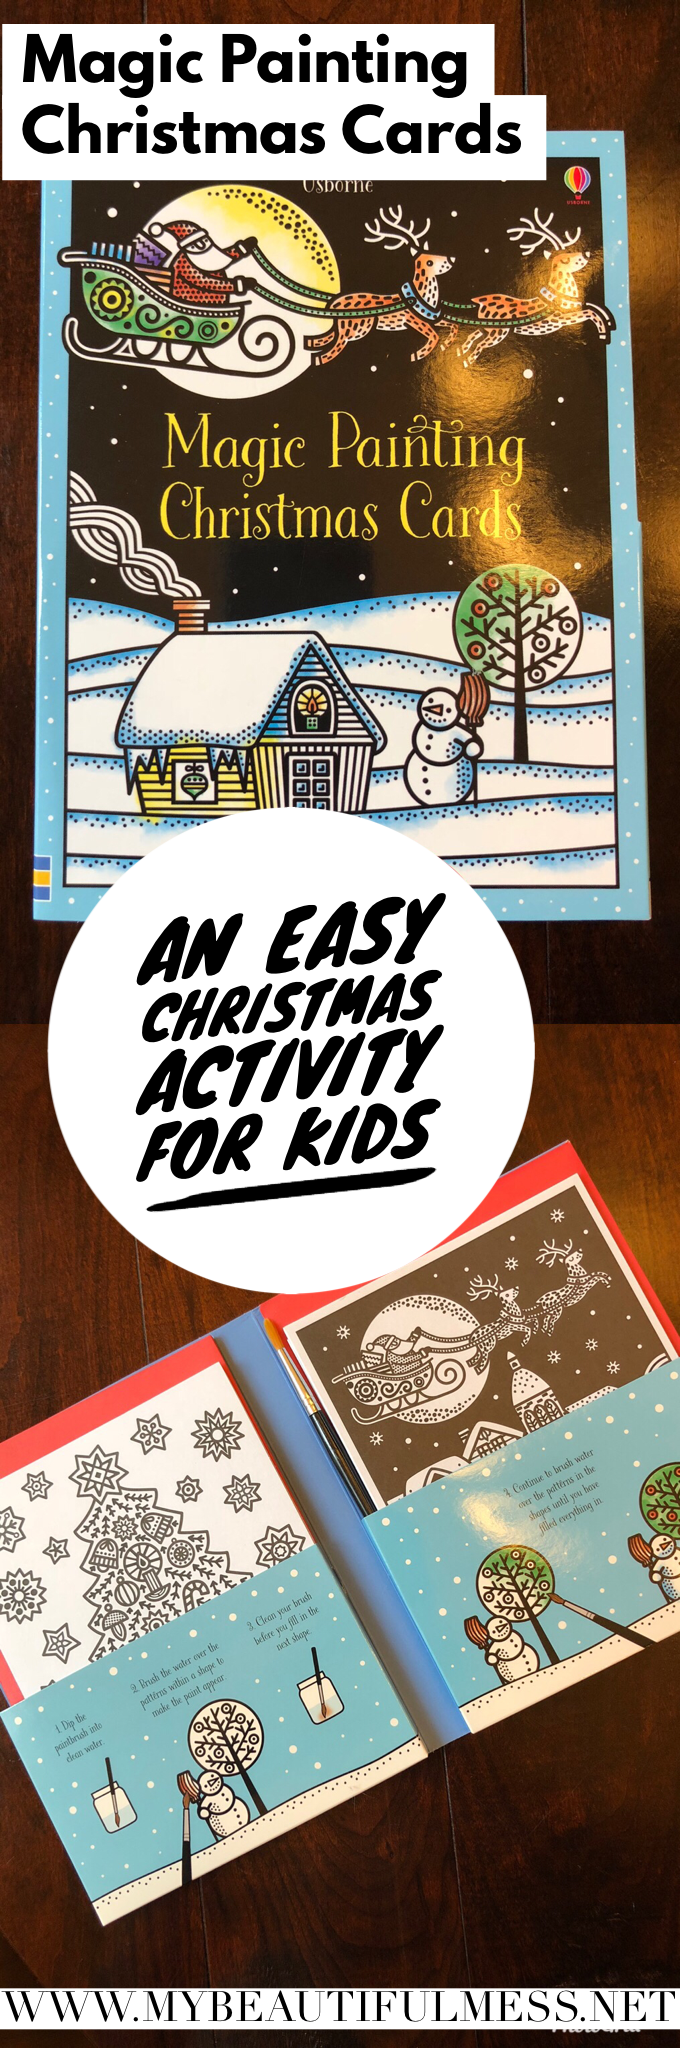
Magic Painting Christmas Cards
DIY Christmas Swag
Next Page
Loading Comments...
Write a Comment...
Email (Required)
Name (Required)
Website